Here are a few practical points on cask care giving you tips to ensure your beer is served at its very best.
Treat your cask with care
To get the best from your cask over and over again:
- Always use a rubber mallet, never a metal hammer
- Use a thick rubber mat under the cask
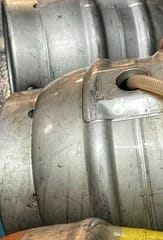
A cask can last forever so protect it from damage.
Cleaning
Always pre rinse the outside of the cask with cold water removing any old labels and cleaning off all dust and debris first.
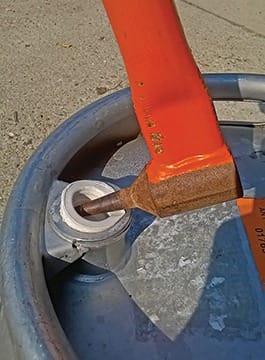
Remove the old keystone and shive if still in place. To do this use a large flat head screwdriver (or shive removal tool if you have one) to lever them. BE CAREFUL to not damage the edges of the metal cask and only lever onto the plastic or wooden parts of the keystone or shive.
Smell inside the cask to get an idea of the condition. Professionals use cask washing systems which include pressure washing the interior to help remove any organic dried on matter first.
Use a 1-2% caustic cleaning solution (alkaline product) in hot water and soak for 10-20 minutes.
Rinse the cask thoroughly a few times with cold water.
Use a torch to see inside the cask to ascertain whether all dried on organic matter has been removed.
A second round of the above caustic cleaning is a belt and braces approach.
If the inside of the cask is particularly stained use a 1-2% bleach solution and allow to soak for 30 minutes. Don’t leave bleach in stainless steel for too long or you will damage it. With any cleaning solution and particularly bleach make sure the cask is rinsed thoroughly a few times with cold water. Smell the cask to make sure there is no chlorine smell left.
If cleaning with chlorine based products spray the inside of the cask after rinsing with a sodium meta bisulphate solution to neutralise chlorine and then rinse.
A final use of Starsan solution (no rinse) will finish the cleaning process and sanitise the cask ready for filling.
This may seem a lot of work but unless you have a cask washing system set up then you need to make sure the cask is scrupulously clean inside.
Filling
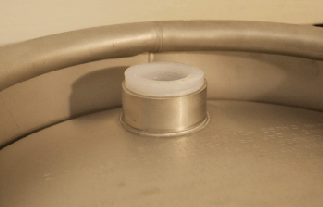
Tap in a clean keystone using a rubber mallet – do NOT use a metal hammer as this will damage the metal cask.
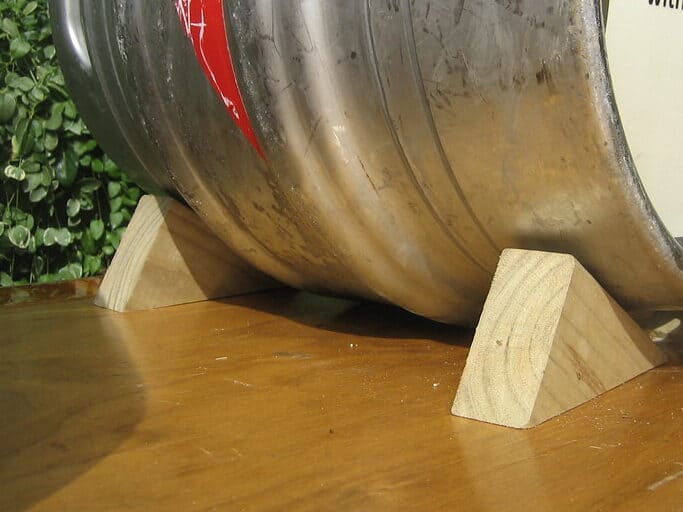
Lay the cask down on the rubber mat with the shive hole upwards and stop the cask from rolling – use wooden chocks or similar to stabilise the cask in place.
Auxiliary finings (silicon based) can be added to the fermenter as the temperature is dropping ~24 hours before filling the cask.
Fill the cask with beer from the fermenter.
Once the cask is nearly filled you can add isinglass or gelatine (to suppliers dosing guidelines) to bring the beer level to the lower rim of the cask before fitting the shive. If you fill past this lower edge you will get a beer shower.
Hammer in the shive using a RUBBER mallet to prevent damage to the metal of the cask.

Control the temperature of the cask to allow priming (sugar can be added based on your normal priming calculator).
Some alternative cleaning methods
Steam Powered Homebrew Keg Cleaner
Why Use Sodium Percarbonate To Clean Your Home Brew Equipment?
A little something from CAMRA
https://camra.org.uk/learn-discover/the-basics/journey-of-a-cask/